


The Solid Wheelchair Tire Installation Tool features a simple design that clamps into a bench vise and allows you to install solid, snap-on, and pyramid wheelchair tires onto most wheelchair rims.
Product Features
- Clamps in a solidly mounted bench vise and works for a variety solid urethane wheelchair tires
- For use with 22" to 26" tires
- Included pegs are 7/16", and 5/8" (the 7/16" peg is used for 7/16", 1/2", and 12 mm inner diameter bearings). The 5/8" peg is used for stretching the tire.
- Made from steel pegs and heavy gauge square tubing
- Solidly mounted bench vise required to use this tool
- Sold individually (each)
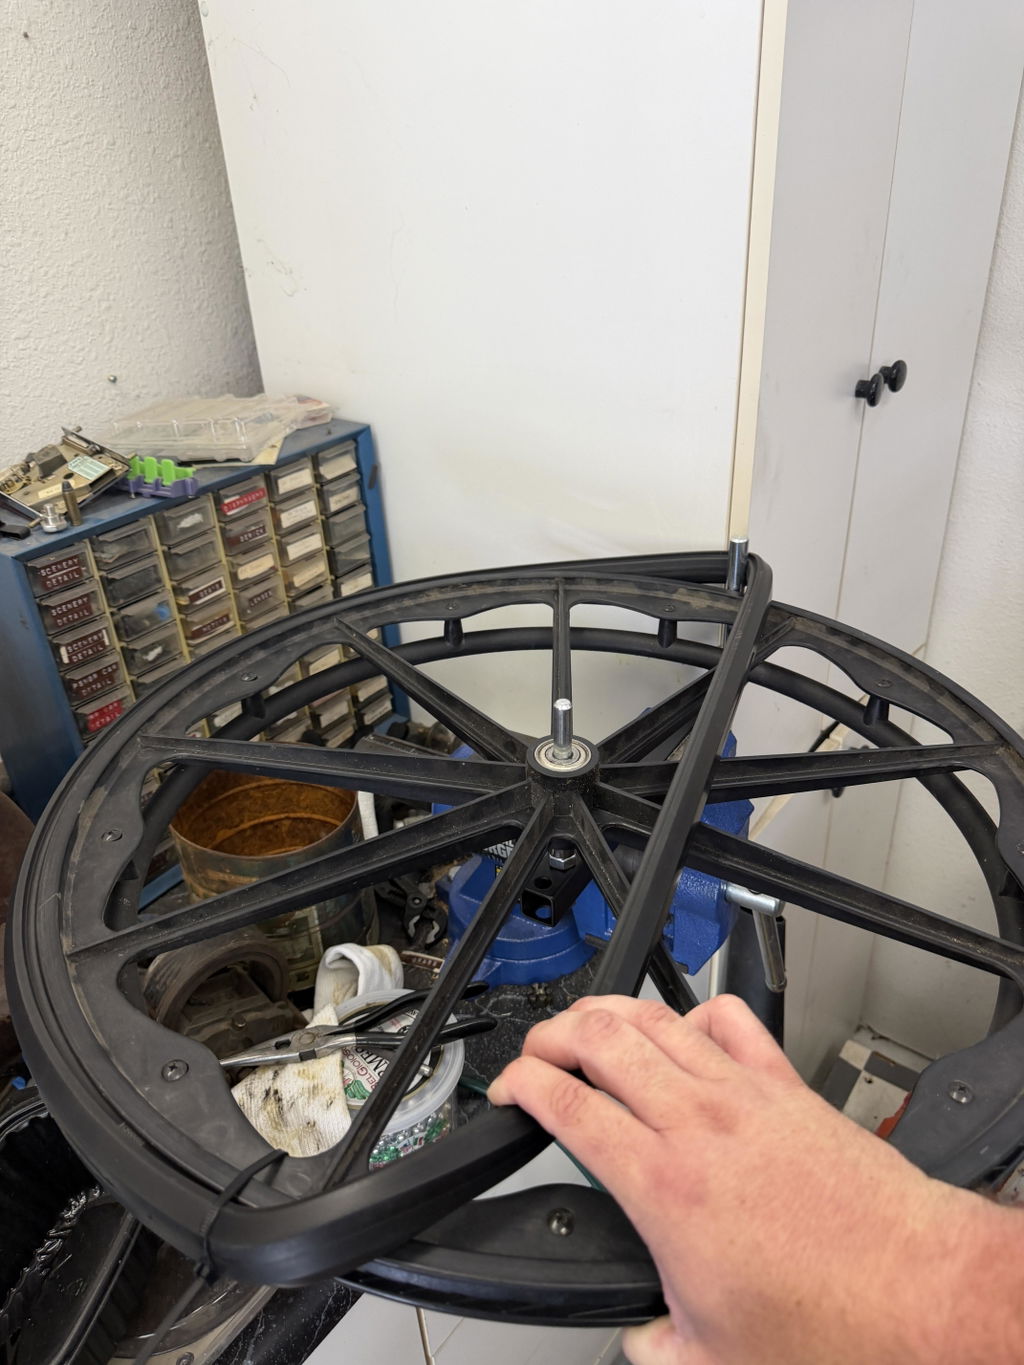
Most solid wheelchair tires are made smaller than the rim they fit and require a substantial amount of stretching to install. With this tool you can mount the wheel and tire onto the tool and as you turn the wheel the large steel peg will stretch the tire onto the rim. It makes quick work of installing solid wheelchair tires of all types onto most wheelchair rims.
Wheelchair Tire Installation Tool Instructions. You can read the instructions here.
Please Note
Your bench vise has to be mounted securely to a solid surface (such as a work bench). The work bench (or other surface) itself must be securely fastened to the floor or wall. Remember, you will be using a great deal of force to stretch the tire onto the rim and using an unsecured work surface could pose a danger.
Economy Solid Wheelchair Tire Installation Tool
Snap-on, pyramid, urethane tires
M040E, AC072000, DIYM040E
We accept returns within 30 days of delivery. For more information, check out our full returns policy.
B
Great tool, tire would have been impossible for me to install without this. Make sure you have a good vice on a solid mount.
C
It took me a bit to realize that the tool was assembled to keep everything together in shipping and not how it was intended to be used. Naturally, I used the tool first and then read the instructions. It turns out that the instructions were properly written and not a poor translation. Anyway, I can not stress enough that placing the tool (square tubing section) into a good bench vice is required. Once I realized that the 5/8" dia spacer is meant to raise the rim to the proper height, everything went smoothly. The tire is just slightly thicker than the rim so moving the rim around on the pin a couple of times after it was stretched into place really helped to get it seated into the rim. I have changed out the 300 lb rear tires on my backhoe without instruction so I figured I could do this too. Reading first would have helped. I have also spread the word to the RN's and CNA's that come in to help with my wife. They were shocked that the wheelchair tires could be replaced and were suitably impressed. Thank you for making it much easier than a new wheelchair purchase.
A
The tool is well made and has all the parts you need. Think the tires I had were just a little be too small but using the tool I was able to get them on and working fine. Wheel chair is back in service and working great.
L
I don’t see any way to install solid rubber tires without this tool. After warming the rubber the tire went on fairly easy, a wooden mallet helped to seat the base. An excellent tool that makes a hard job easy.
J
This tool is amazing. For the last 17 years I was using the old tool, the one square shaped bar the was so difficult
- Choosing a selection results in a full page refresh.